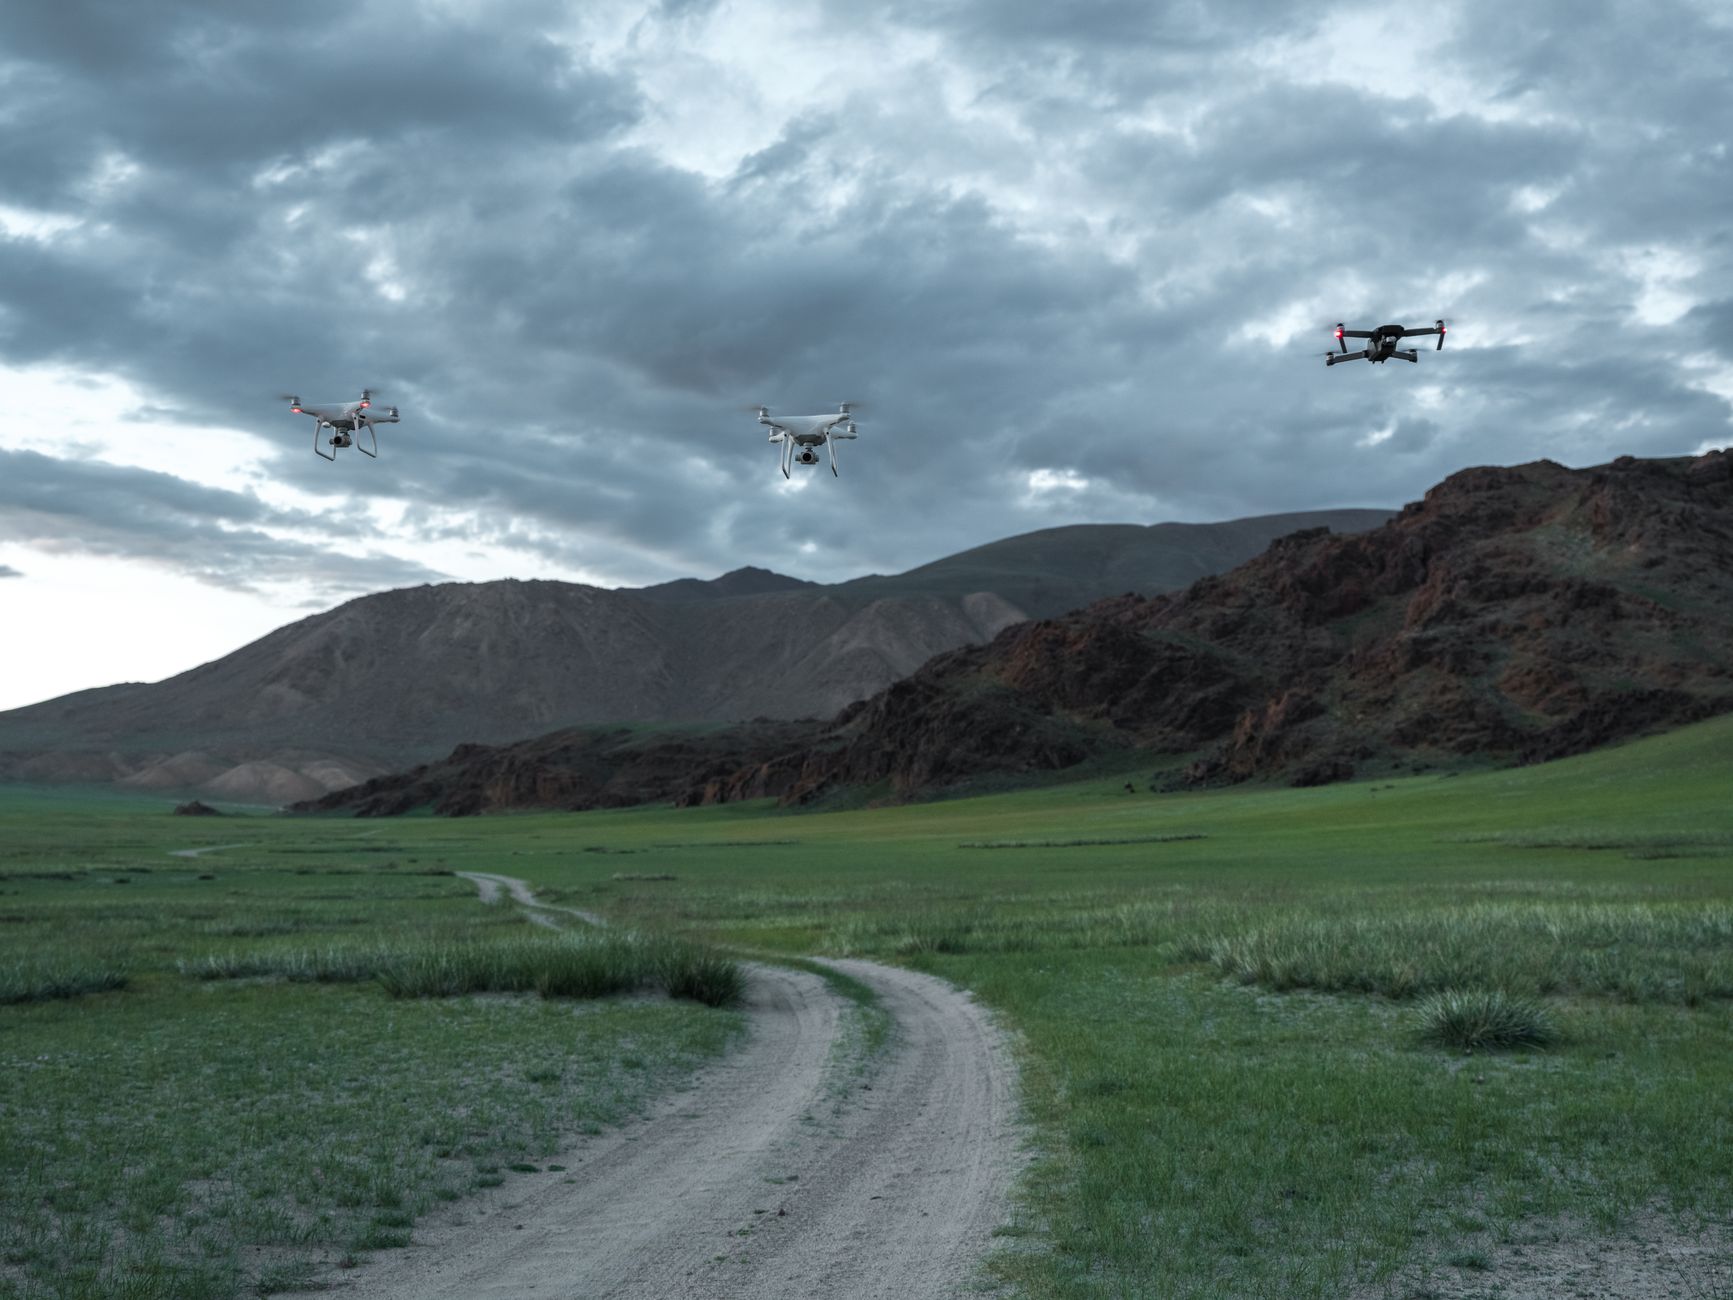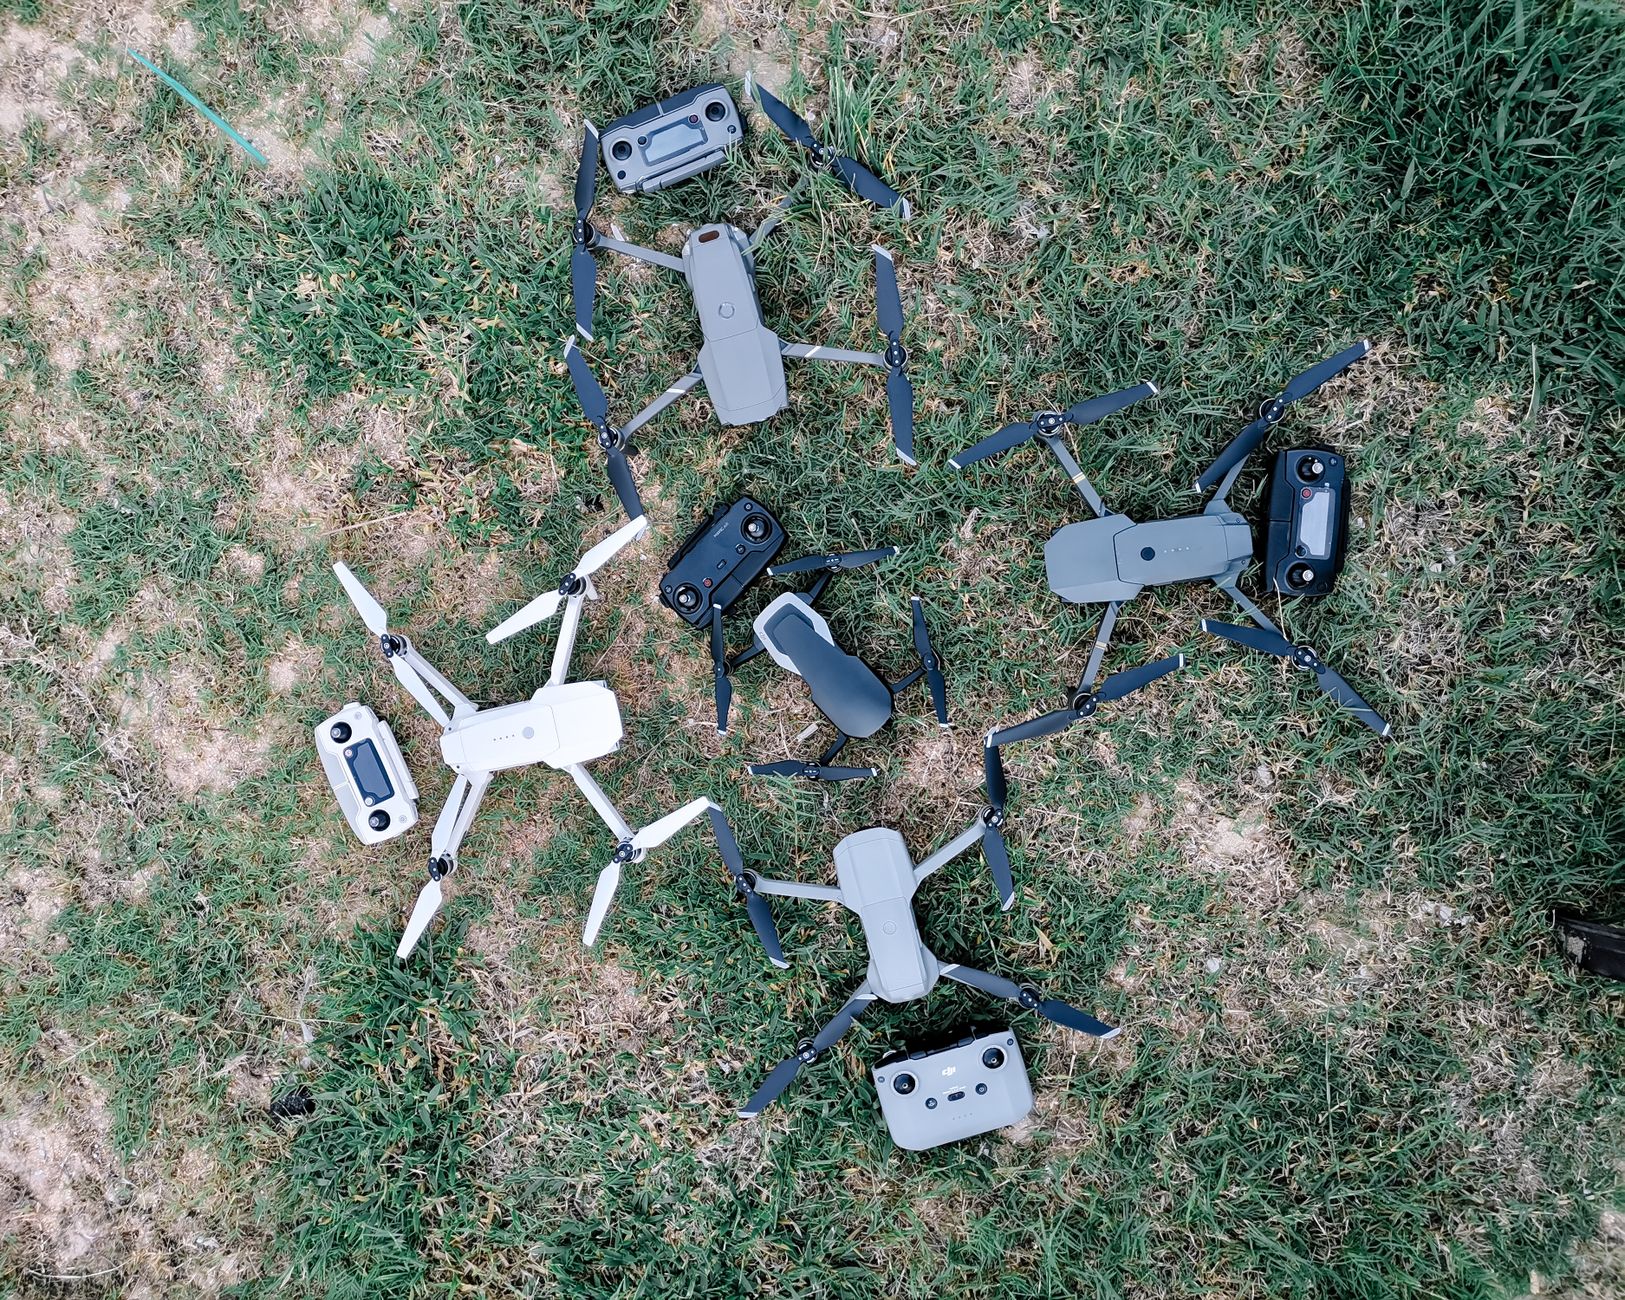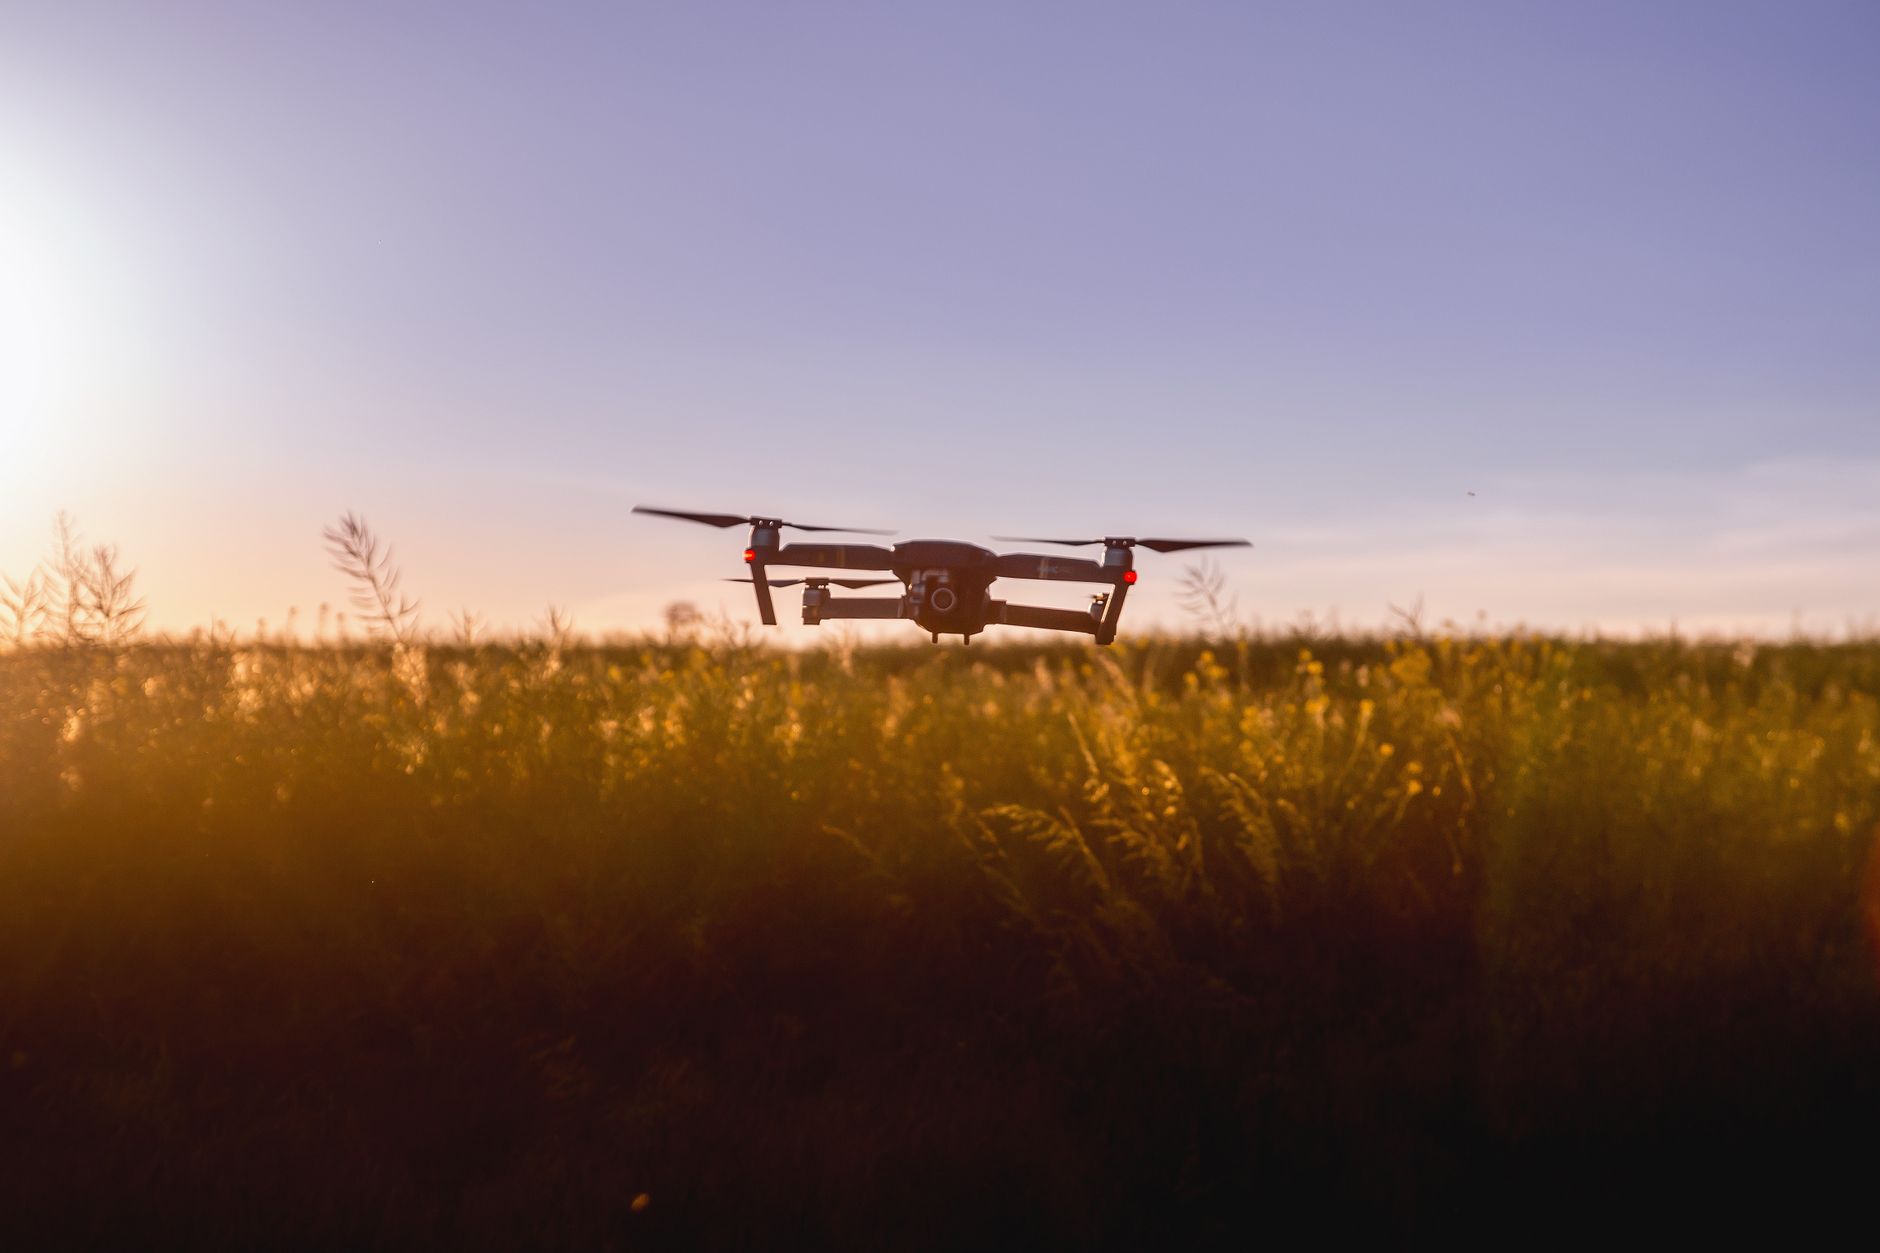
Drone photography captures perspectives that ground cameras cannot. You press the shutter on a DJI Mini 5 Pro or another aerial platform. That file holds rich data, but it rarely looks finished straight from the sensor. Post-processing turns flat RAW captures into polished images. This guide walks through color grading, stitching, and cleanup steps. Many drone cameras produce DNG files with 10-bit color. That gives you room to push shadows and recover highlights. The best drones for aerial photography offer larger sensors, but even budget models benefit from careful edits.
Before you edit, know the rules. In the US, the FAA requires registration for drones over 250 grams, and the fee is $5 for three years. In Canada, Transport Canada has similar rules. Most consumer models like the DJI Mini 5 Pro fly for up to 45 minutes, giving you more frames to work with. Editing is legal and encouraged, but commercial use may need a Part 107 certificate. Check drone laws in the US before selling prints or offering services.
What You’ll Need
- Adobe Lightroom Classic
- Adobe Photoshop
- PTGui or Microsoft ICE
- Fast microSD card reader
- Calibrated monitor
How Do You Edit Drone Photos?
- Import, cull, and organize your RAW files
Copy files from the microSD card to your computer. Use a card reader for faster transfers. Open Lightroom and create a new catalog for the location or date. Import only the RAW or DNG files if your drone supports them.
Cull aggressively. Delete blurred, overexposed, or duplicate frames. Keep the best 10-20 percent. This saves storage space and speeds up every later step. A fast microSD card helps buffer clear shots, so check best drone accessories for reliable storage options.
- Apply lens corrections and set global exposure
Every drone lens has distortion and vignetting. Lightroom includes built-in profiles for popular models like Mavic and Air series. Check the Enable Profile Corrections box to remove barrel distortion and dark corners.
Then use the Basic panel to fix exposure. Pull highlights down to recover sky detail. Lift shadows slightly to open up dark ground. Watch the histogram to avoid clipping. Beginners often push sliders too far, so take small steps. If you need a refresher on camera settings, see how to fly a drone for beginners.
- Color grade for aerial tone with HSL and curves
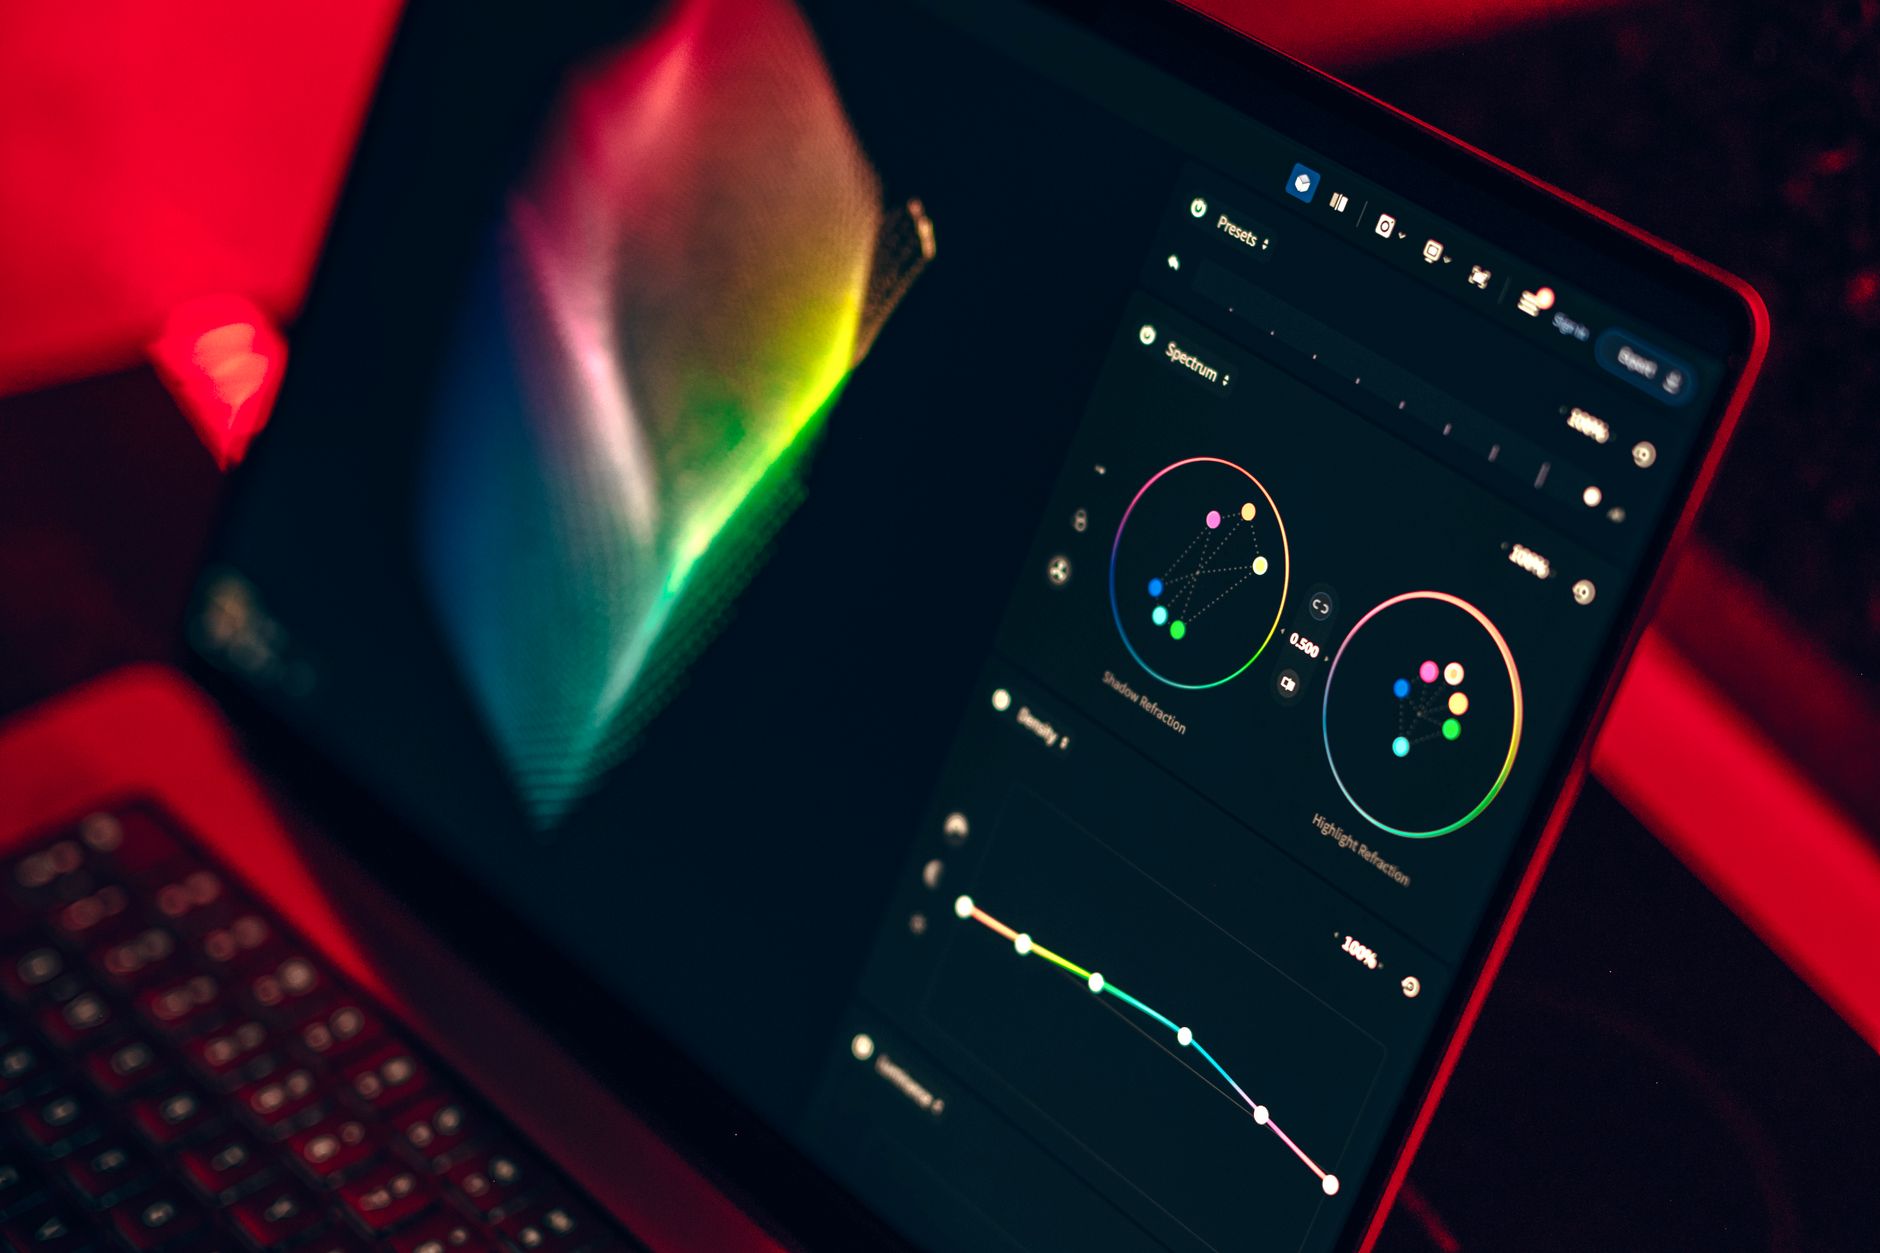
White balance is the first color decision. Use the eyedropper on neutral clouds or concrete. Then move to the HSL panel. For ocean shots, push aqua and blue luminance and saturation slightly. For forests, keep greens natural and reduce yellow.
Use the Tone Curve to add gentle contrast without clipping. Split toning can add warm highlights and cool shadows for a cinematic look. Remember less is more. The best drones for aerial photography capture 10-bit color, which gives you more room to grade without banding.
- Stitch panoramas and HDR merges
Panoramas need at least 20-30 percent overlap between frames. Select the sequence in Lightroom and choose Photo Merge > Panorama. Lightroom will detect the projection. For wide landscapes, cylindrical projection works well.
If you shot HDR brackets, merge to HDR before stitching. Check for ghosting and moving objects. Sometimes manual stitching in PTGui gives better control. After stitching, crop the uneven edges. This step connects directly to perspective correction next.
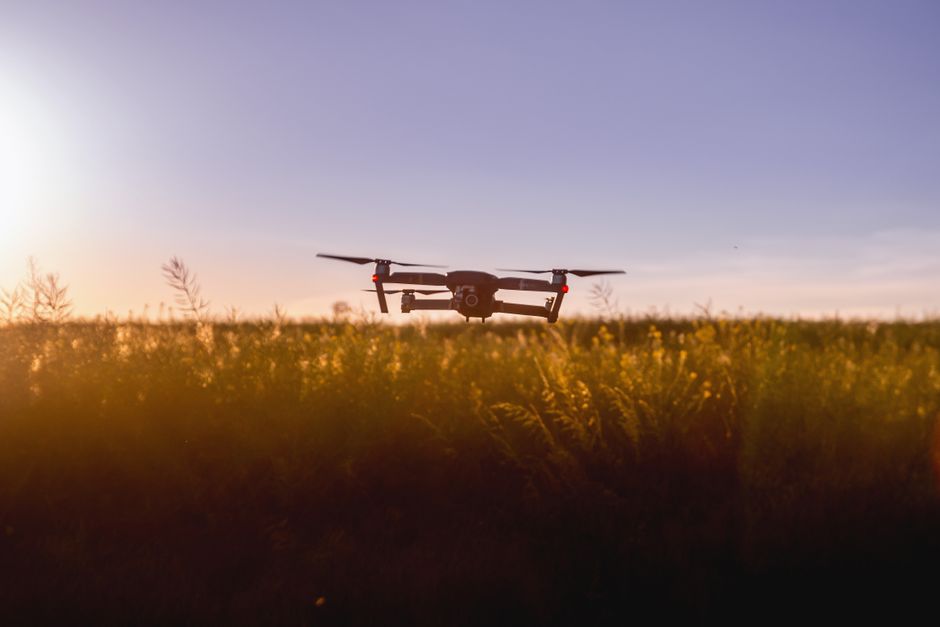
- Fix perspective and remove distractions
Aerial shots often have tilted horizons or converging verticals. Use Lightroom’s Transform panel with Guided Upright to draw lines along buildings. Then crop tight to remove empty edges.
Drone sensors attract dust spots, especially when flying in dusty conditions. Use the Spot Removal tool with Visualize Spots. Clone out sensor spots, lens flares, and distracting objects like stray branches. Keep the edit natural. Over-cloning looks fake and breaks the realism of the scene.
- Sharpen and reduce noise for small sensors
Drone cameras have small sensors, so noise appears in shadows and blue skies. In the Detail panel, set sharpening amount between 40 and 70. Hold Alt or Option while dragging Masking to limit sharpening to edges only.
For luminance noise, increase the slider until grain disappears, then add Detail back. Avoid over-sharpening, which creates halos around edges. Real estate photographers often need extra noise reduction for interior shots through windows. Check the best drones for real estate for models with larger sensors and better low-light performance.
- Export for print, web, and client delivery
For web, export as JPEG at 80 percent quality in sRGB. For print, use TIFF or high-quality JPEG in Adobe RGB at 300 DPI. Name files with location and date. Use Lightroom export presets to automate this process.
If you plan to sell prints or offer services, check FAA commercial rules. The FAA requires a Part 107 certificate for commercial drone work, including selling photos. You can learn more at FAA. Also review drone laws in the US before starting a business.
Red Flags & Warnings
- 🚨 Never over-saturate colors. Drone sensors capture rich data; pushing saturation above +20 often looks unnatural.
- 🚨 Always keep the original RAW files. Edits are non-destructive in Lightroom, but if you flatten and lose the original, you cannot recover shadow or highlight detail.
- 🚨 Calibrate your monitor before color grading. An uncalibrated screen shifts colors, so your prints may look wrong.
- 🚨 Check local drone regulations before flying for photos. In the US, drones over 250 grams need FAA registration, and commercial use requires a Part 107 certificate.
- 🚨 Do not stitch images with different exposures or white balance. Lock exposure and white balance in your drone camera settings before shooting panoramas.
- 🚨 Be careful with sharpening and noise reduction. Too much sharpening creates halos; too much noise reduction smears fine details like grass and roof tiles.
Frequently Asked Questions
What is the best software for editing drone photos?
Adobe Lightroom Classic is the most popular for organization and global adjustments. Photoshop is great for detailed retouching and stitching. Free options like Darktable and RawTherapee also work. Use what fits your budget and workflow.
Should I shoot in RAW or JPEG for drone photography?
Always shoot RAW if possible. RAW files capture more dynamic range and color data, which gives you more flexibility in post. JPEG files are smaller and ready to share, but they lose highlight and shadow detail. Many drones offer RAW+JPEG, which is a good compromise.
How do I stitch a panorama from drone photos?
Select the overlapping frames in Lightroom and choose Photo Merge > Panorama. Lightroom automatically aligns and blends the images. For manual control, use PTGui or Photoshop. Make sure each frame overlaps by at least 20-30 percent.
How can I reduce noise in drone photos?
In Lightroom’s Detail panel, increase Luminance noise reduction until the grain disappears, then raise Detail to recover texture. Use Masking under Sharpening to avoid sharpening noise. Shooting at lower ISO and editing in good light also helps.
Do I need a license to sell drone photos?
In the US, commercial drone work requires an FAA Part 107 certificate. Recreational flying does not need a license, but selling photos counts as commercial. In Canada, you need a drone pilot certificate for basic or advanced operations. Check local rules before selling.
What color profile should I use for exporting?
Use sRGB for web and social media. Use Adobe RGB or ProPhoto RGB for print workflows. sRGB ensures colors look consistent on most screens. For client delivery, ask what profile they need. Soft proofing in Lightroom helps match print output.
What Should You Remember?
- Color grading: Use HSL and tone curve to set mood without over-saturation.
- Stitching: Overlap frames 20-30 percent and merge in Lightroom for seamless panoramas.
- Lens correction: Enable profile corrections to remove distortion and vignetting from drone lenses.
- Noise reduction: Mask sharpening and use luminance reduction to clean small sensor noise.
- Export settings: Choose sRGB for web, Adobe RGB for print, and 300 DPI for physical copies.
- Legal check: Register drones over 250 grams and get a Part 107 certificate in the US for commercial work.
This article is for general information only. Drone regulations vary by region and change frequently — always verify current local laws and airspace rules before flying.